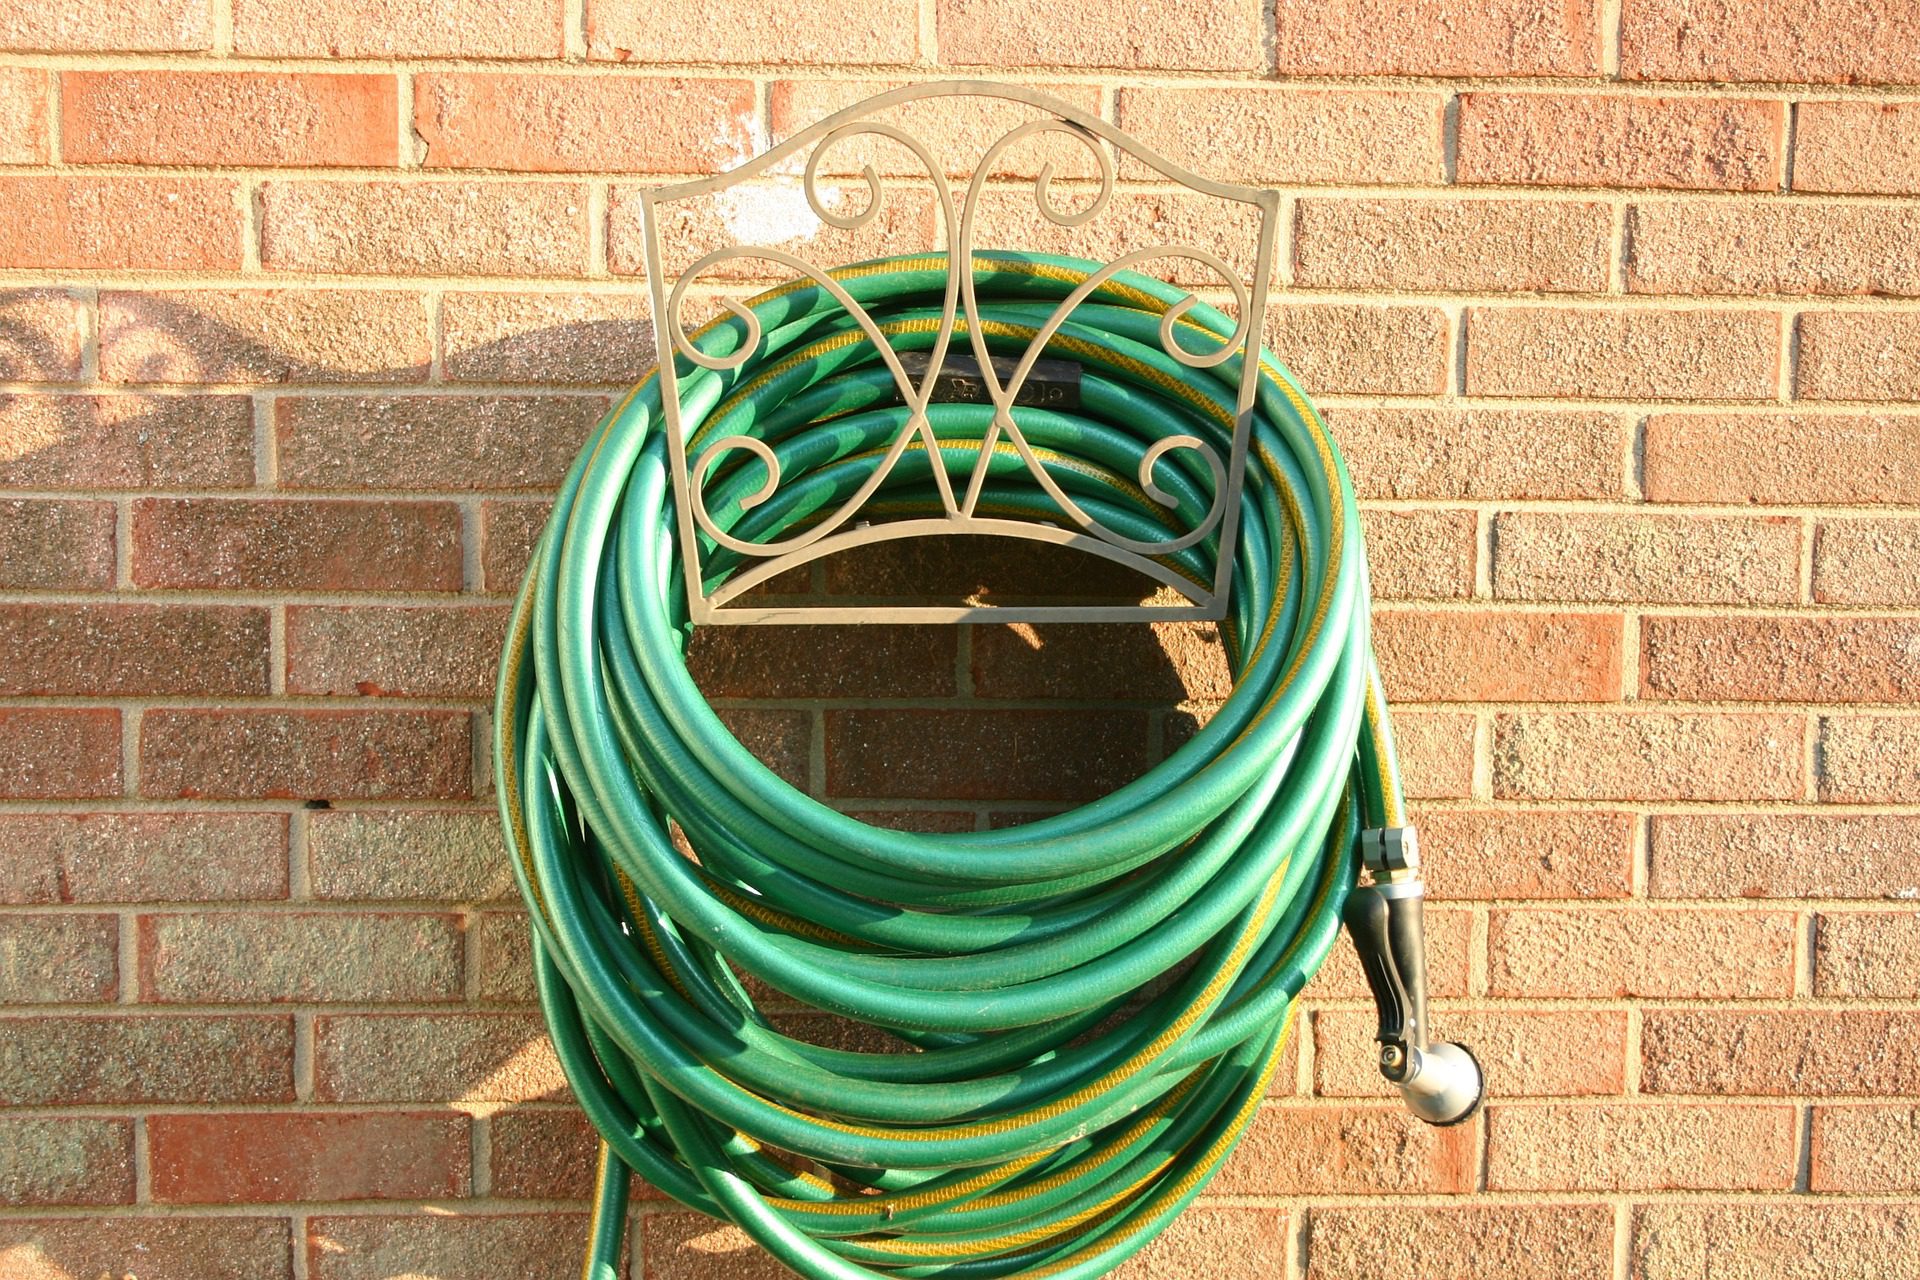
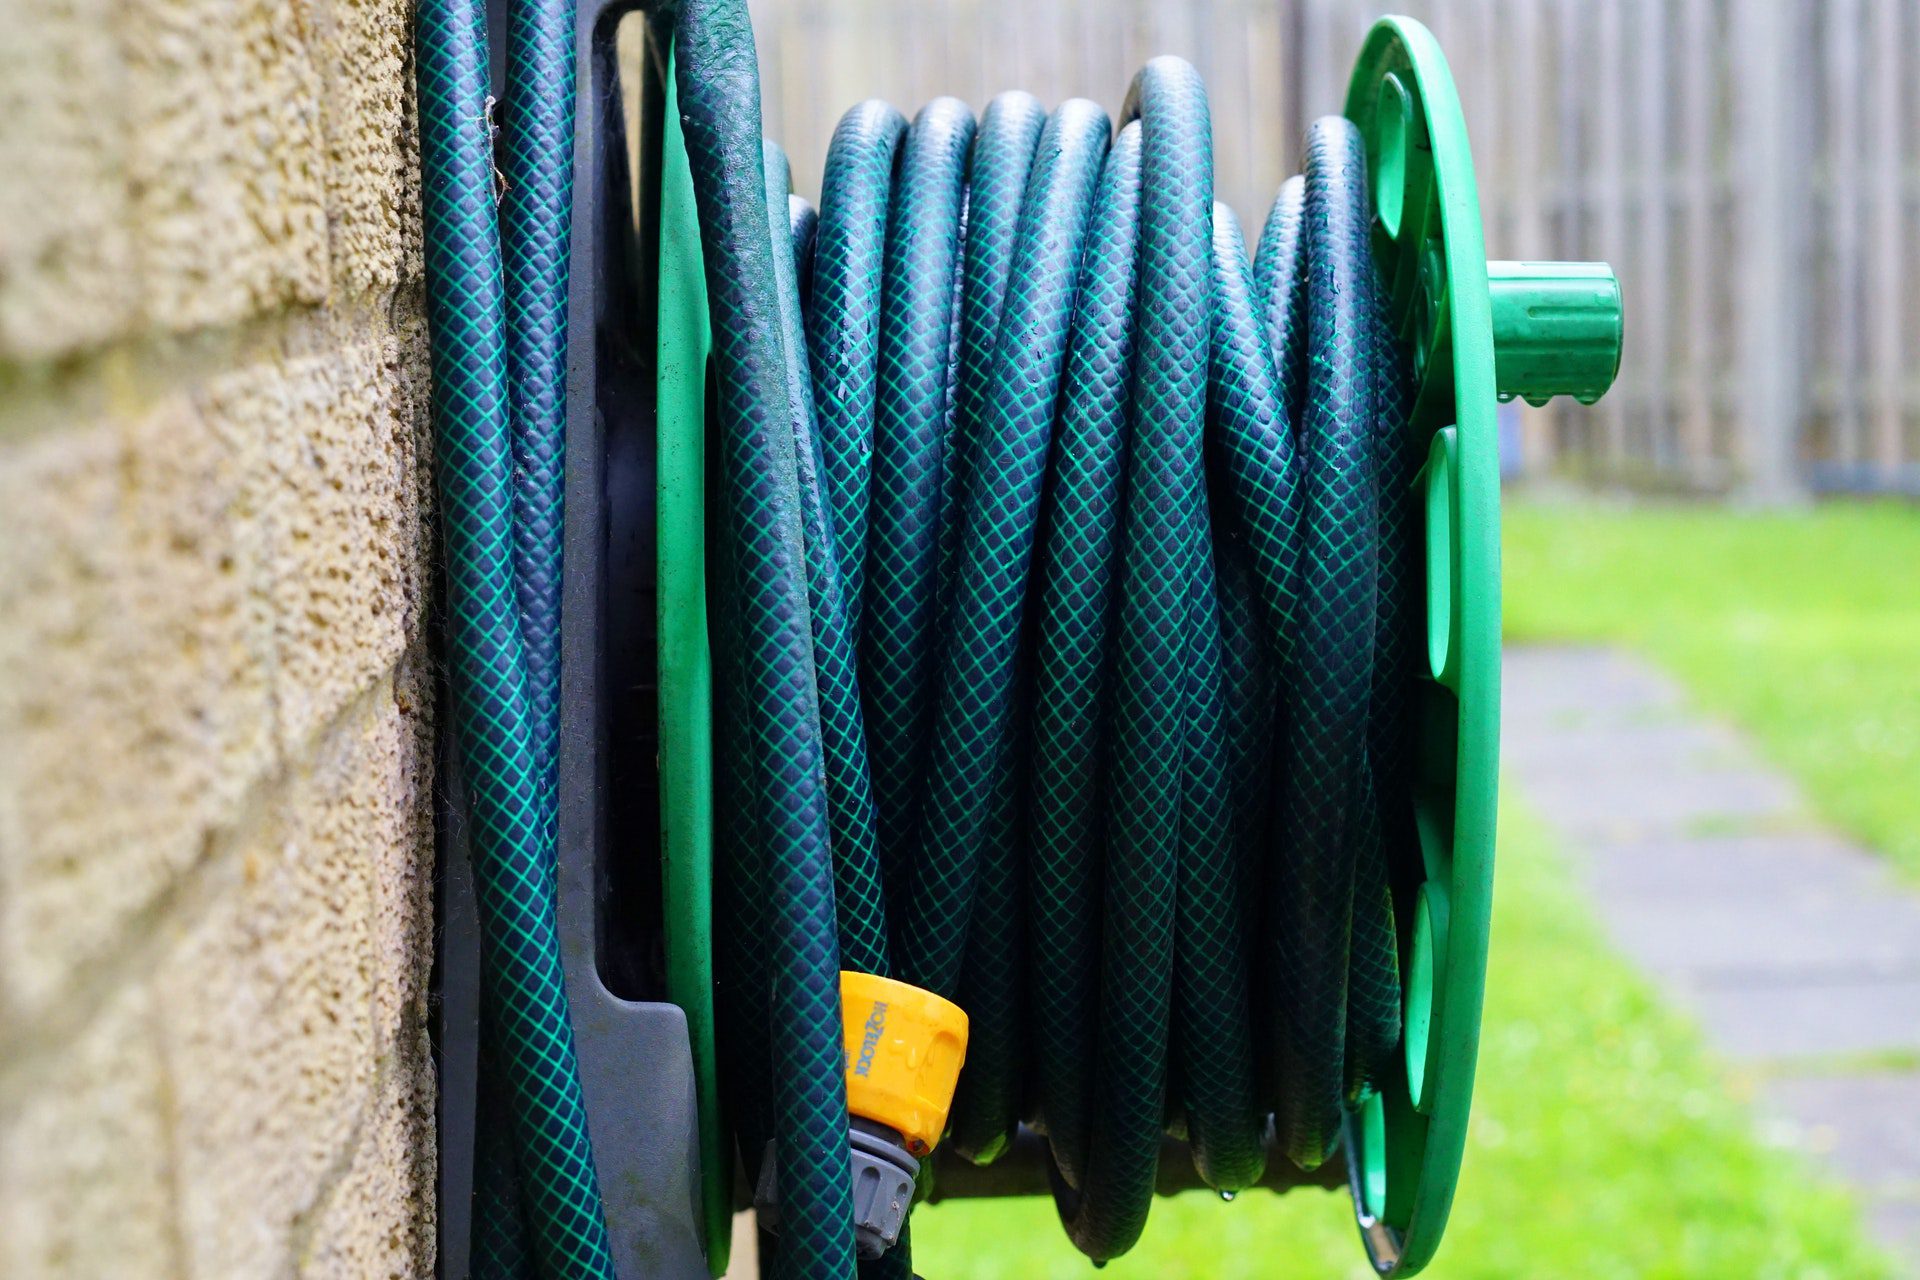
A DIY hose holder is a great way to keep your garden looking neat and tidy. Not only is it functional, but it can also be a decorative addition to your outdoor space.
Sure, you could still grab one of the factory-made models from your local hardware store, but why not try making your own DIY hose holder? It’s a fun, easy project that can be completed in less time. Plus, you can customize it to fit your specific needs and preferences.
With that said, let’s take a look at how to make your very own DIY hose holder.
But as usual, let’s first know the paraphernalia necessary for the project;
Contents
- 1 What You’ll Need:
- 2 11 EASY Steps To Make Your DIY Hose Holder
- 2.1 Step 1: Divide The Wooden Post
- 2.2 Step 2: Stand The Wooden Post
- 2.3 Step 3: Work On Two Square Pieces of Wood
- 2.4 Step 4: Attach The Two Pieces To The Wooden Post
- 2.5 Step 5: Install the Wood Finial
- 2.6 Step 6: Install The Wall Mount Hose Holder
- 2.7 Step 7: Drill The Holes
- 2.8 Step 8: Dress Up The Unit With Paint
- 2.9 Step 9: Time To Dig
- 2.10 Step 10: Support The Post
- 2.11 Step 11: Attach Hose To Spigot
- 3 Final Word
What You’ll Need:
- Wooden post, preferably measuring 4″X 4″X 8′
- Circular saw
- 4-inch Wood square
- 5-inch Wood square
- Drill
- Wood screws
- Wood finial
- An outdoor wood glue
- Wall-mount hose holder
- Shovel
- Pencil
- Spray paint
After you get all the materials, you can start making the DIY hose holder.
11 EASY Steps To Make Your DIY Hose Holder

Step 1: Divide The Wooden Post
Divide the 8-foot wooden post in half. You should get two posts with each being 4-feet long. With a circular saw at your disposal, you’ll find the tool coming in handy in this step. However, if you don’t have one, you can consider borrowing one from a friend or still take the post to your nearby lumber store for cutting. For the latter option, expect to part with about $10 depending on where you go.
Step 2: Stand The Wooden Post
After cutting, you need to stand the post upright. You want it to remain upright and fixed when working on it. That way, you’ll find the project to run more smoothly. You can consider bracing it with some stakes hammered into the ground temporarily.
Step 3: Work On Two Square Pieces of Wood
Next, pick the square piece of wood measuring 4 inches and center it. Then, attach it onto the other square piece of wood that’s 5 inches. You can consider using outdoor wood glue for this step. After you apply the adhesive, allow it to dry. How long it takes will depend on factors such as the weather and the glue you use.
Step 4: Attach The Two Pieces To The Wooden Post
Once the glue has dried, it’s time to attach the two pieces of wood you just glued. They should go on top of your 4-inch wooden post. Again, for this step, use wood glue and attach using screws. Drill a pilot hole that runs through the center of these stacked pieces of wood.
Step 5: Install the Wood Finial
The wood finial is the decorative element that tops the DIY hose holder. It’s an optional step, but it can really add some flair to your finished product. Pick the wood finial that you bought, and install it into the pilot hole that you just made. You don’t necessarily need a tool for this job as your hand can still suffice.
Step 6: Install The Wall Mount Hose Holder
Decide on which post side needs to be the front. Then, take a wall mount hose holder and position it against the post. How you place the mount here is very crucial.
Ideally, the holder should be some inches below the top of the post. 12 inches from the top is a nice length. You can buy a wall mount hose holder online, or at your local hardware store, or still, you could repurpose an old one.
Once you align the wall mount hose holder, mark the screw holes. In this step, a pencil will come in handy.
Step 7: Drill The Holes
Now, take the mount aside and drill some holes into the post in the places you just marked. Make sure that they’re big enough to accommodate the screws that come with your wall mount hose holder. After drilling, attach the holder to the post using screws.
Step 8: Dress Up The Unit With Paint
The DIY hose holder is almost done. All you need to do now is take a can of spray paint and give it a couple of coats. This will protect the wood, and also give it a nice finish.
You can consider using paint that matches the color of your home. Or, you can choose a color that contrasts and makes a bold statement.
Step 9: Time To Dig
It’s time to dig a hole for the post. Ensure that you choose the perfect location for the post. To avoid dragging the hose over a long distance, it will be wise to locate the holder near a garden tap or spigot.
Once you’ve picked the spot, use a shovel to dig the hole. The hole should be about 18 inches feet deep and wide enough to accommodate some rocks and other materials you’ll use for its anchor.
Step 10: Support The Post
Once you’ve dug the hole, it’s time to put in some supports. Put the base side of the post into the tunnel you just made and use some old bricks, rocks, or concrete blocks for support. This will keep the post upright and in place.
After you’ve put in the supports, it’s time to fill up the hole with soil. Compact the soil to make sure that the post is stable. You can use a tamper for this step.
Step 11: Attach Hose To Spigot
Now it’s time to attach the hose to the DIY hose holder. Connect one end of the hose to the tap or spigot, and then fasten it in place.
The other end of the hose can be attached to the DIY hose holder. Now that everything is in place, open up the tap and test out your DIY hose holder. It should work like a charm!
As you can see, DIY hose holders are not all that difficult to make. In fact, with a few simple steps and some basic materials, you can have your very own DIY hose holder up and running in no time!
Final Word
A DIY hose holder is a great way to store your garden hose in an attractive and organized manner. Not only does it look good, but it’s also very functional.
So, if you’re looking for a DIY project that will help you organize your outdoor space, a DIY hose holder is definitely a good option. And, best of all, it’s a project that anyone can do! So, what are you waiting for? Get started on your DIY hose holder today!


